


Adding a Blog Author or Admin Member
There are times when you may need to grant someone administrative or author privileges for your blog. This is a tutorial to show you how to do just that.
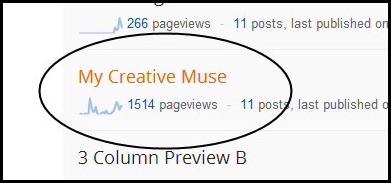
Log in to your Blogger account and go to your dashboard. Locate the name of the blog you wish to grant access to from your list of blogs as shown below. For purposes of this tutorial we are going to use My Creative Muse as the blog of choice. Just click on the name of the blog to go to your next screen.
Once you have done this, you will see the listing shown below on the left side of your screen. You need to scroll down to the Settings section and click on that.

Your next step is going to be inviting the person to contribute to your blog. Go to your Permissions area and add the individual as a Blog Author by clicking on Add Authors as circled below. If you are granting permission to me to do your blog design – please use the email address shown below. If you are using this for another individual, please be sure to use their Google/Gmail email address.

Once you have done this, the recipient will receive a notification via email that they have been invited to contribute to your blog. They must click on the link in the email in order to be approved as an author.
If the individual is only going to be contributing content (blog posts) on your blog – you are finished.
If the individual is going to be updating your blog layout and design – you need to grant Admin privileges as shown below.

That's all there is to it!